.svg)


Key Points
Cyberattacks are increasing every year. While some are sophisticated and use in-depth knowledge of network and cloud security, the vast majority are simple, automated and indiscriminate. There are a number of reasons why:
- Low technical barrier of entry for hackers
- Easy access to open-source tools
- Poor cyber hygiene in the target businesses
Underpinning all these is the sheer number of vulnerabilities available for exploitation. With billions of dollars lost annually to these attacks, businesses are increasingly recognizing the importance of finding and fixing vulnerabilities – and fast.
However, many business owners and IT teams still take an ad hoc approach to vulnerability management – either because they don’t have the expertise to do it properly, or they don’t think they’re a target for hackers.
In this guide, we’ll provide a step-by-step template to simplify the process of building a comprehensive vulnerability management program to aid compliance and immediately reduce your exposure to risk.
What is a vulnerability management program framework?
A vulnerability management program consists of the processes required to continuously identify, prioritize, and manage cybersecurity vulnerabilities.
Why is vulnerability management important?
Customers, employees and regulators today expect you to have policies and processes in place that protect your services, operations and data from attack and interruption. While quarterly scanning and remediation might sound like enough, new vulnerabilities appear every day. Even a regular monthly scan and patch cycle could leave you exposed for up to 29 days. This is not best practice, and there is zero tolerance for business disruption or slowdowns today. In short, vulnerability management has become business critical.
What are vulnerabilities?
Security vulnerabilities are coding flaws or system misconfigurations in your digital infrastructure – your networks, web applications, services and databases – that can be hacked and exploited.
Common coding flaws include failure to implement proper authorization, SQL injection, cross site scripting (XSS) and cloud misconfigurations – like an Amazon S3 bucket without proper permissions. These vulnerabilities open the door to unauthorized users who can then perform actions they shouldn’t be able to or access your most sensitive data.
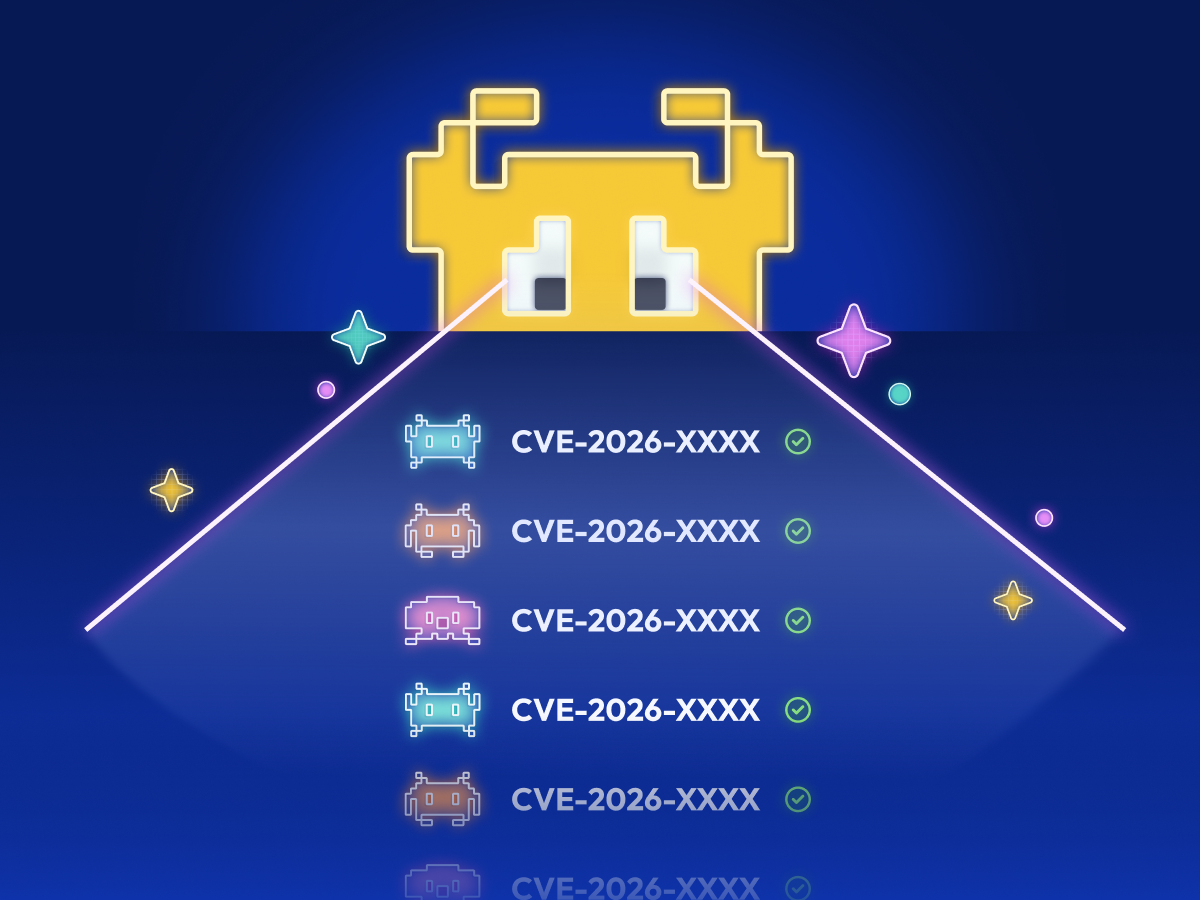
Security experts – and hackers – find vulnerabilities like these every day – 25,000 CVE vulnerabilities were disclosed last year alone and no one wants a repeat of last year’s Log4Shell vulnerability. We’ve detailed the latest vulnerabilities in our guide to the top cybersecurity threats in 2023.
Of course, vulnerabilities can also be introduced into your software accidently by your own developers when they’re building your custom web applications, or in software bought from a 3rd party. These vulnerabilities are potentially just as serious, but fixing them is not the same; when it’s your own code, your developers can fix flaws in the way they see best. If it’s 3rd party, you usually have to download and deploy an update to a newer version.
Find what you have first
You can’t protect what you can’t see, so getting full visibility across your digital estate is the first step in any vulnerability management program. This means creating and maintaining a centralized inventory of the systems you have, and logging any changes to these assets as your business and team grows or changes.
Think of it as an inventory of your personal possessions – if your house is burgled, would you know what’s been stolen? Logging all your IT assets used to be a bit of a drag, but cloud computing has made it a whole lot easier, and vulnerability scanning tools can hook into your cloud accounts to make the process automated and easy. But you will undoubtedly still have some systems outside of this (laptops, edge routers and firewalls at the very least), so it’s still a good idea to keep (and maintain) an asset register.
This ‘discovery’ phase should be part of any effective attack surface management program. Intruder has baked this in with CloudBot to pull in your cloud assets, and Attack Surface view and Smart Recon to find what’s exposed that shouldn’t be.

How to build an effective vulnerability management program in 4 steps
It’s important to remember that the ultimate point of your vulnerability management program is to fix any flaws, so one of your KPIs should be how many critical vulnerabilities are fixed or mitigated as quickly as possible to minimize the window of opportunity for hackers. To get there, there are four main steps in any vulnerability management program:
- Find: detecting vulnerabilities through scanning and testing
- Prioritize: understanding which pose a real and significant risk
- Fix: patching, blocking or removing vulnerabilities
- Monitor: ongoing scanning for new or returning vulnerabilities
1. Finding the vulnerabilities
The first step to building a vulnerability management program is scanning to find any vulnerabilities. Scanners identify known security weaknesses and provide advice on how to fix them. Because these vulnerabilities are usually publicly reported, there’s a lot of information available about vulnerable software. Scanners use this information to identify vulnerable devices and software in your infrastructure. The scanner will initially send probes to your systems to identify:
- Open ports and running services
- Software versions
- Configuration settings
It will also send probes to identify individual vulnerabilities that can only be tested by sending a safe exploit that proves the weakness is there. These probes identify common vulnerabilities such as command injection or cross-site scripting (XSS) or check if you’re using default usernames and passwords.
But not all scanners are created equal. Vulnerability scanning is nuanced and one size doesn’t fit all. Some tools are also more specialized, and do a better job of scanning specific scenarios in depth, with more configurable options. You could use different scanners, or use a solution like Intruder that does it all...
- Scanning of exposed services on your perimeter
- Scanning internal hosts which aren't exposed to the internet
- Authenticated scanning of web applications and APIs
“Not all scanners are created equal. Vulnerability scanning is nuanced and one size doesn’t fit all”
2. Prioritize what matters most
Effective prioritization is key to building a successful vulnerability management program. Your scanner should produce a report, but not every vulnerability poses the same level of risk, and not all reports are easy to interpret and action. While it’s important to consider the business impact when deciding what to focus on first, there will inevitably be a trade-off between factors like severity, exposure, fixability, and compliance.
For example, it’s usually best to focus on the most severe vulnerabilities first, but don’t ignore the rest forever. It’s not uncommon for hackers to chain several mild vulnerabilities to create an exploit.
If you build your own web applications which contain sensitive information, you should prioritize in-depth scanning which reaches past the login page or use manual penetration testing. Not all vulnerabilities are on public-facing systems either. Internet-facing systems can also be exploited by a random attacker scanning the internet, making them a higher priority for remediation. You’ll want to prioritize employee workstations and servers with vulnerable software. Additionally, any systems that host particularly sensitive data or could adversely affect your business may need to be prioritized ahead of others.
Advanced scanners like Intruder will do the hard work of prioritizing vulnerabilities for you, highlighting the issues that could leave your infrastructure exposed, using language that non-experts can understand but with enough detail for developers to action effectively. See it in action by trying our interactive demo below.
Intruder's reports make it much easier to prioritize threats and therefore minimize your exposure to risk, so you have more time to focus on what really matters. You can deep dive into prioritization in the NCSC guide with details on triaging issues for remediation.
3. Fixing the vulnerabilities
In most cases, there will be a publicly-released patch to correct a detected vulnerability. It can require a configuration change or other workaround, such as rewriting custom code written by your developers. Your dev team will be able to correct and fix these issues as part of their DevOps process.
But if you’re not a tech business with an inhouse engineering team, deploying patches isn’t always easy, and testing and rolling out upgrades can take time, expertise and resources. Business-critical systems may have to be shut down during deployment, and there’s always the risk that the patch itself could impact the application or its dependencies.
To make this easier, there are a number of patch management solutions on the market to help you monitor, manage, and support your devices and simplify remediation. Some are super powerful and complex, aimed squarely at the enterprise market. But, of course, these aren’t for everyone. If you’re looking for a simple but equally effective device management (MDM) tool for your vulnerability management program, we recommend Kandji for Mac and NinjaOne for Windows, Windows Server, Mac and Linux.
Alternatively, you can buy time while a patch is prepared by disabling the vulnerable process, or removing the component that’s not actually in use. You may also want to set defined SLAs which can help you to prove compliance.
If you have an SLA, keep in mind how your compliance framework aligns to your goals, because most have a specific remediation timeline. For example, under PCI DSS, any vulnerability with a CVSS score of four or more must be fixed within 30 days of notification.
In practice, you want to put processes in place that take into account how exposed the affected device is, and how sensitive is the data it contains. A vulnerability rated 'medium' on your most critical systems may be far more important to fix than one rated 'high' on an informational service that’s not connected to any highly sensitive data.
4. Keep monitoring
After applying a fix, you should rescan to check it’s been applied correctly, or the system may still be vulnerable. Although rare, the patch could also introduce more security issues, and this scan will uncover them so you can fix them as well.
These scans provide a point-in-time snapshot of the vulnerabilities present in your digital infrastructure. But new deployments, configuration changes and vulnerabilities can quickly make you vulnerable again. For this reason alone, you should make monitoring continuous and ongoing, rather than a one-time exercise.
The tool(s) you need to do this will automatically monitor your network and systems for newly discovered and returning vulnerabilities, with real-time alerts via your chosen channels. If possible, integrate monitoring with your fix process by hooking up your vulnerability management solution to bug trackers so that you get real time tracking of your remediation efforts.
Ideally, the tool will also prioritize threats by business context, helping with steps 1 and 2 of the vulnerability management process. Otherwise, your developers or security team can quickly be overwhelmed by an influx of low-priority vulnerabilities. It’s important to filter out this noise so it doesn’t slow down your fix process – or drive your security team mad!
While monitoring is step 4 in the process, once your program is up and running, it’s worth thinking of your continuous vulnerability management program as a circular flow, with monitoring leading back into the finding phase. You can read more about vulnerability scanning frequency best practices here. It's also worth checking out our guide to vulnerability management metrics to ensure you can measure the success of your program.
Kickstart your vulnerability management program with Intruder
Understanding the four steps of a vulnerability management program is just the start. You also need to have the right tools in place to simplify and manage them through automation. An automated vulnerability management program will significantly reduce the burden on your security team and make vulnerability remediation so much quicker and easier.
Intruder automates a number of vulnerability management tasks, from vulnerability scanning to cloud asset discovery, data aggregation and prioritization, so you spend less time trying to figure out what to do, and more time improving your security. Why not try it for free for 14-days and kickstart your own vulnerability management program?

Vulnerabulletin